 Introduction

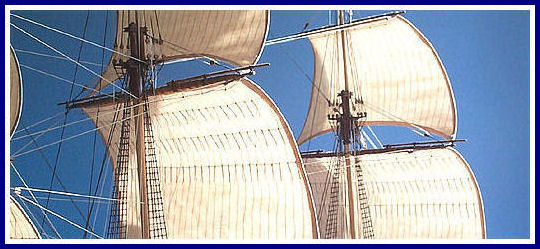
I always displayed the sails of my eight last models. The making of wind blown sails became more polished.
Today, considering the results, this technique seems to be good. I include in this chapter all the information related to shaping and applying the sails.
1. Stainless Steel Wire
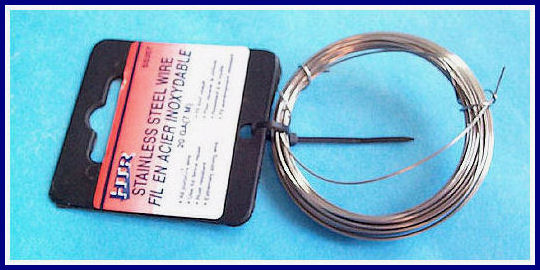
At the root of a sail display, there is a stainless steel wire placed into the hem of the foot.
The wire used here has a gauge size of 20GA (1/2 mm in diameter). For a scale model 1:75 or 1:100, a wire of 21GA (thinner) will be better.
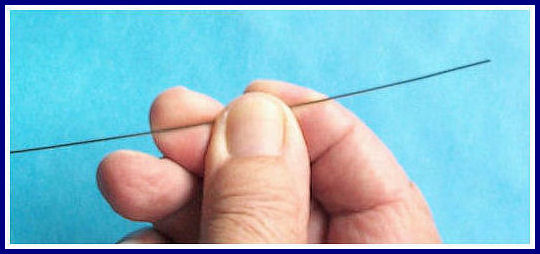
After having cut the required length of the wire, the first step is to straighten it out.
Do not use grips in order to straighten.
Rather use your fingers: press your thumb on the section to straighten while holding the wire with your fore finger and middle finger.
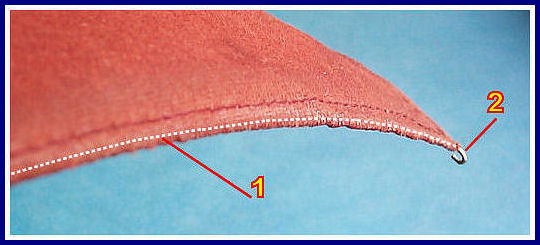
Once the wire (1) is positioned in the hem of the sail, the ends of the wire are folded into hooks (2).
(Continuation Reserved for Subscribers)